Windows XP is an operating system which I have very fond memories of. It was the Windows operating system I first used when I began my career as an IT Professional back in 2004 and gained alot of experience using it.
That background wallpaper with the green fields and blue skies still looks so good.
In this guide I will show you how to install Windows XP as a VM in Hyper-V so you can get a flavour of what Windows XP was like. You will probably see some of the tools and features from Windows XP still haven’t changed much in later Windows operating systems such as NTFS file system, folder properties, the right click menu and the System Information tool to name a few.
Here is a guide on how to install Windows XP as a Virtual Machine using Hyper-V
Requirements
- Windows XP SP3 Installation Media and Product Key
- Hyper-V Role on Windows 10/11
Create Virtual Machine in Hyper-V
- Start Hyper-V
- Create New Virtual Machine
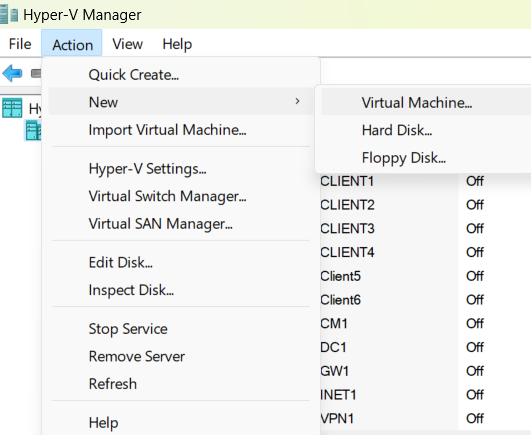
- Click Next

- Give the VM a name then click Next

- Choose Generation 1 VM the click Next

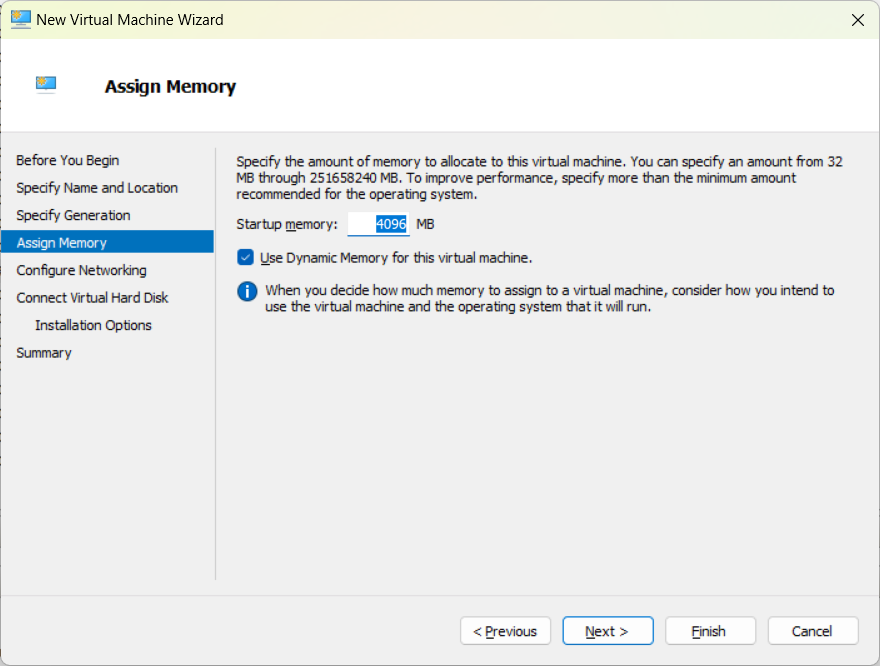
- Choose Memory to allocate. I chose 4096MB but 512MB should be sufficient
- Choose the network adaptor to connect then click Next

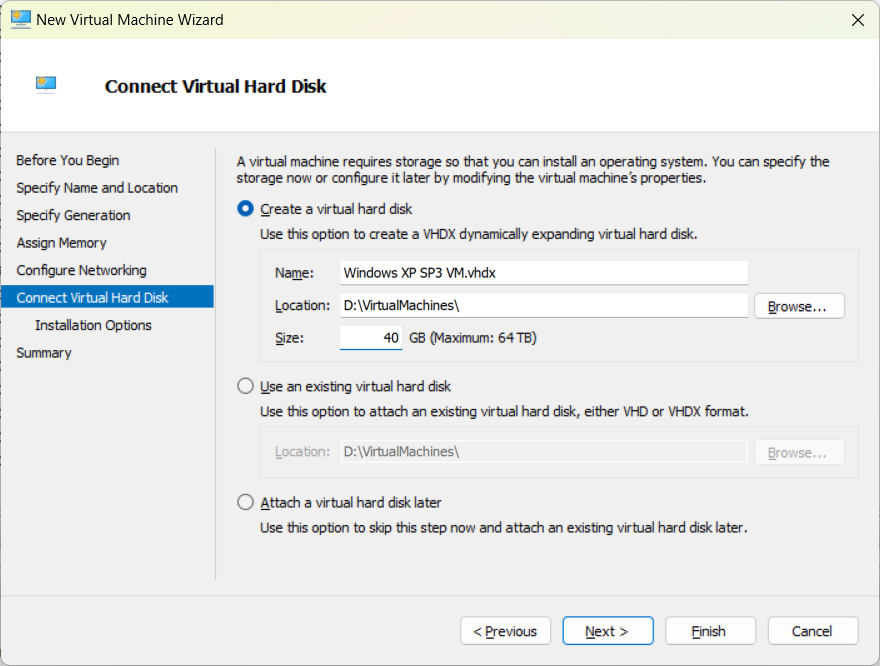
- Configure the Hard Drive options. I decided on 40GB
- Select the Installation Media then click Next. As I have a physical installation CD I chose this. You can also choose an ISO image file if you have this

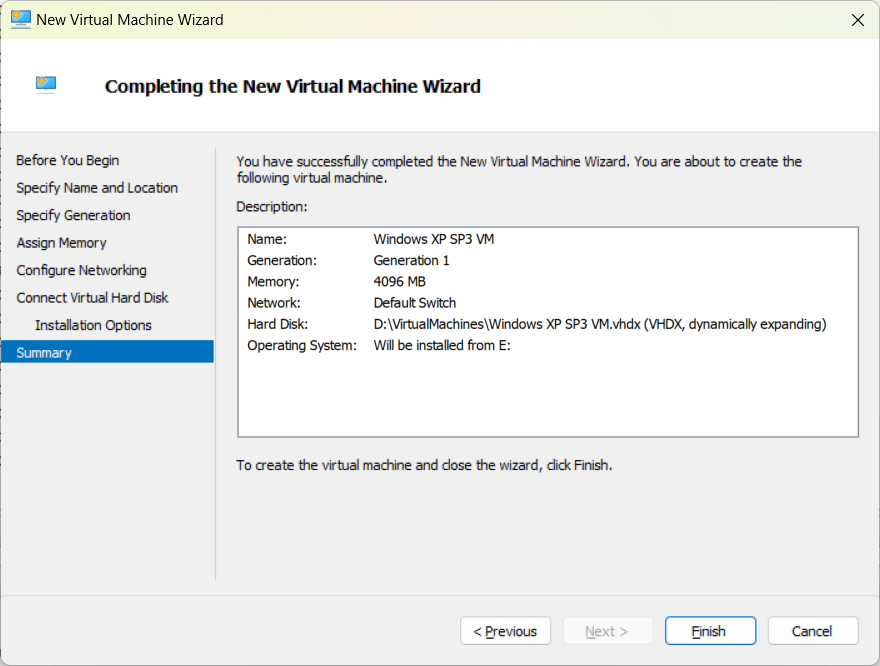
- View the summary and then click Finish
Windows XP Installation
- Start the VM which you created earlier

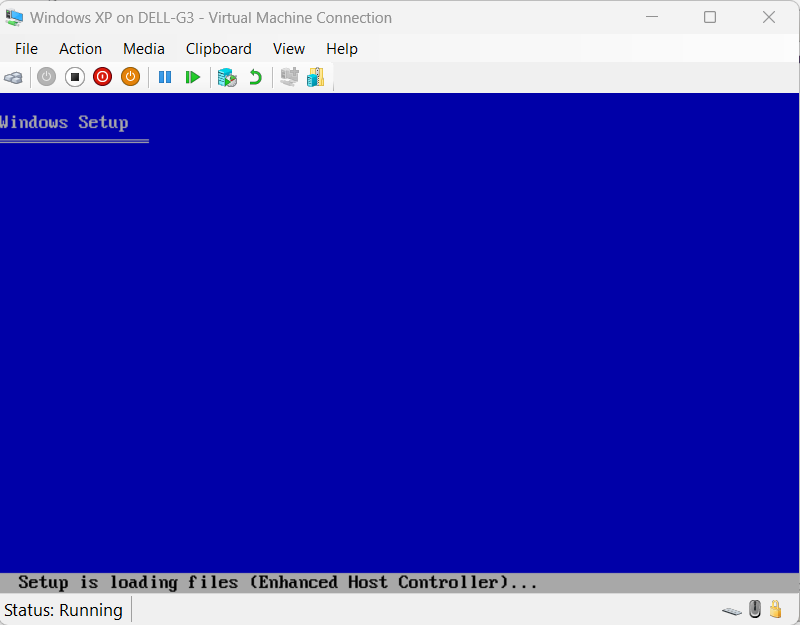
- Setup should begin. Wait for setup files to load
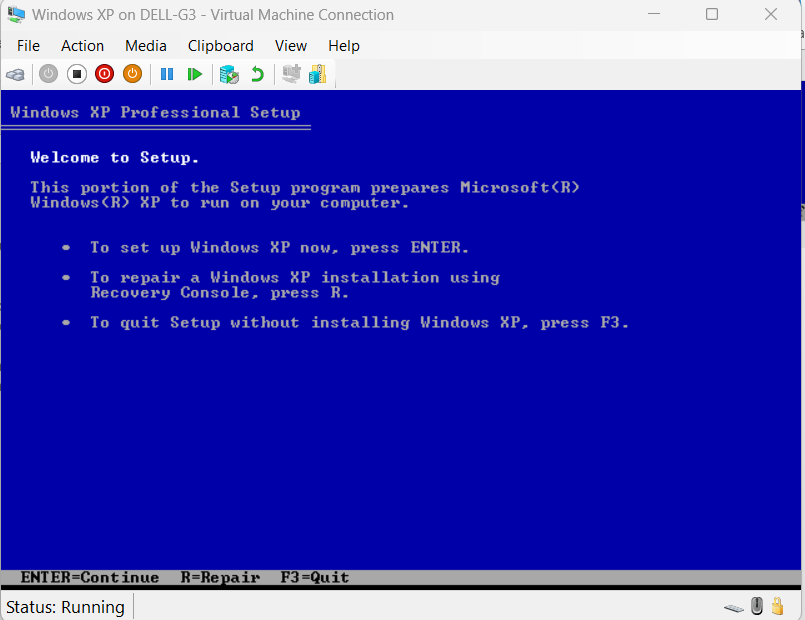
- Press Enter to begin Installation Setup
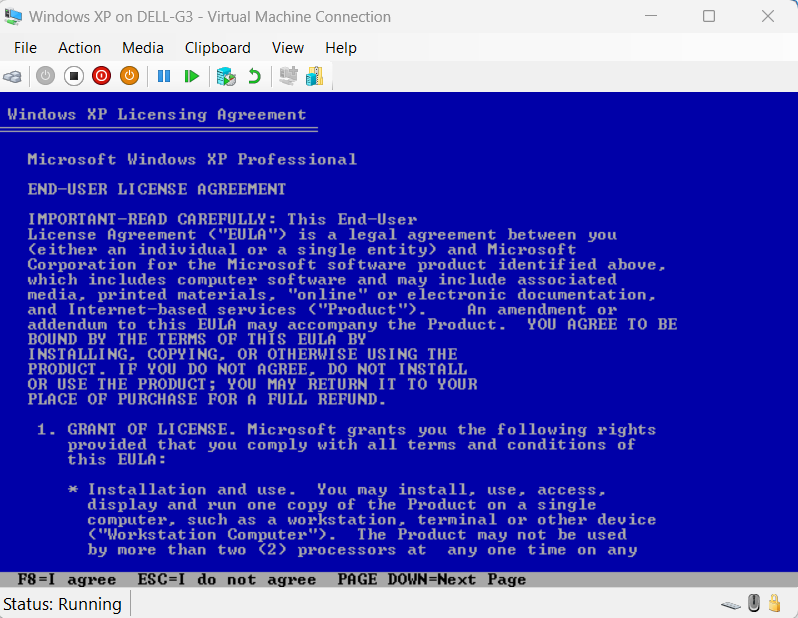
- Press F8 to Accept the Licensing Agreement
- Choose where to install the operating system. I chose the default and pressed Enter as I wanted to have just one partition. If you want additional partitions click ‘C’ instead to create a smaller partition where you want to install Windows XP

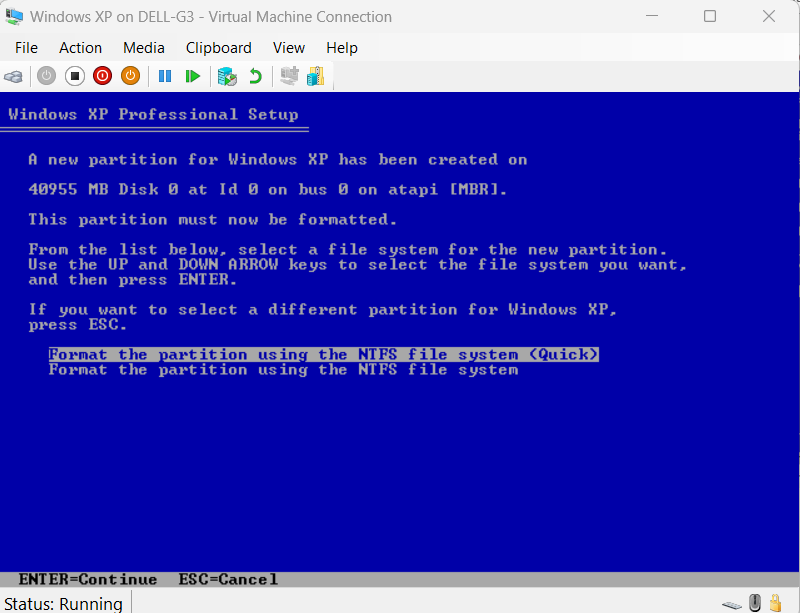
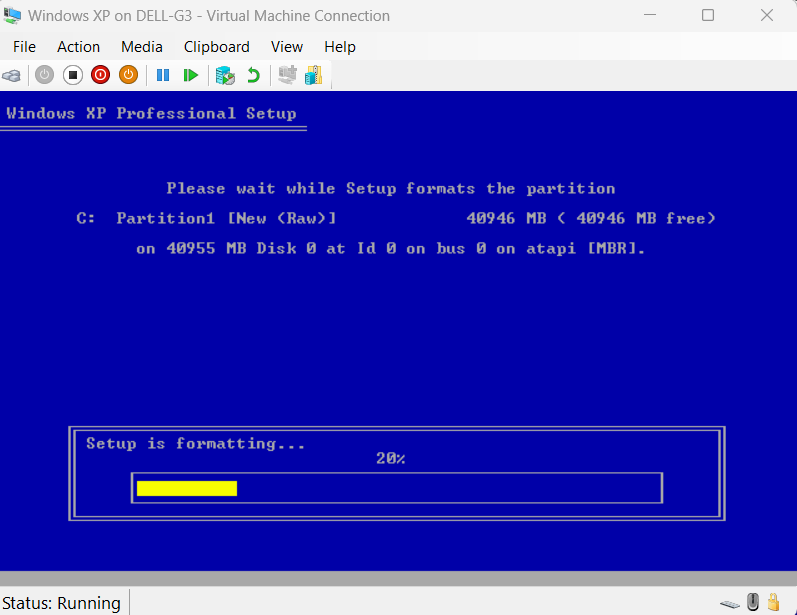
- Choose the Quick Format option and press Enter
- Wait for formatting to complete
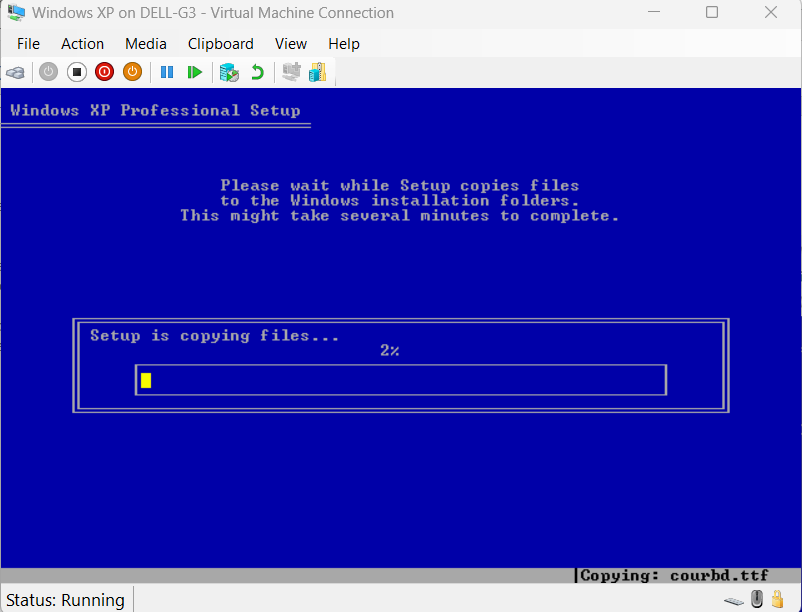
- Wait for Setup files to be copied
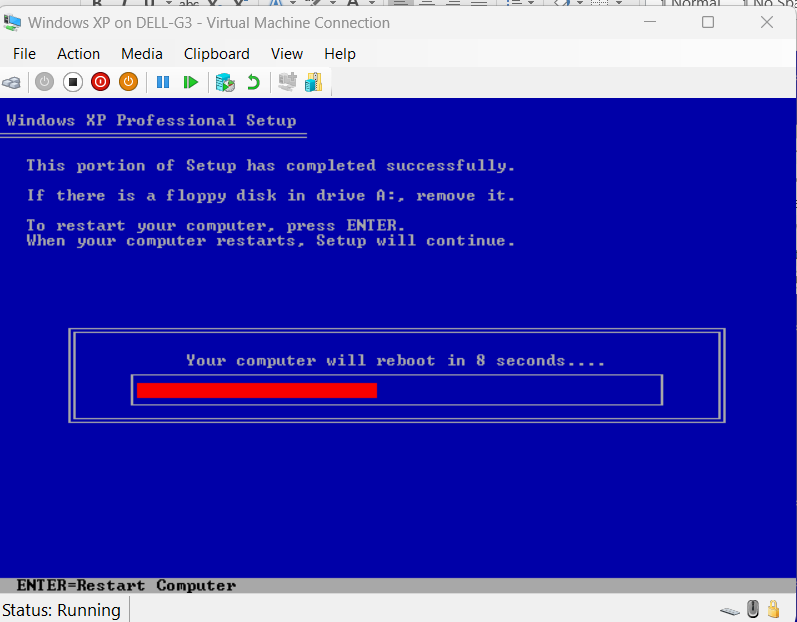
- Wait for PC to reboot
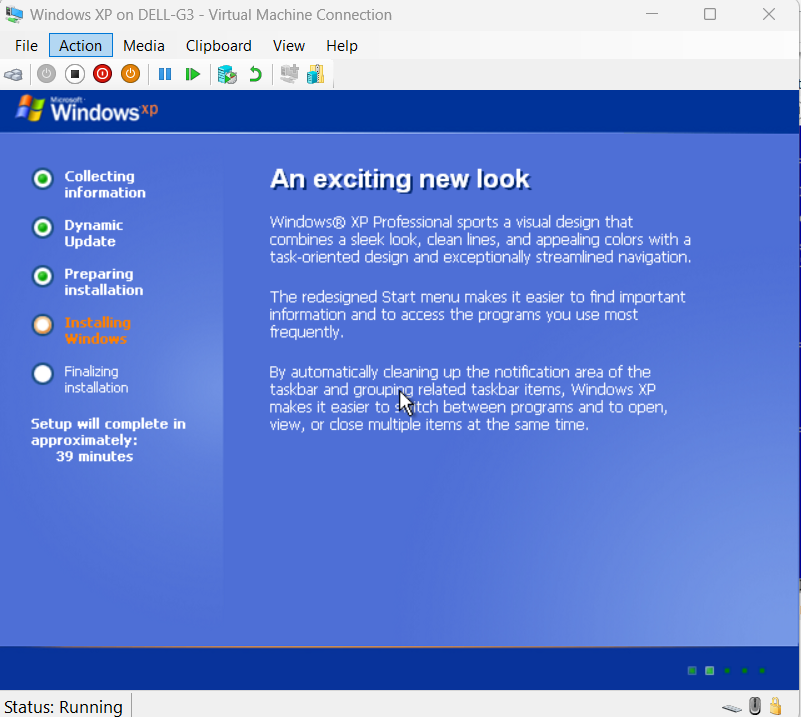
- Installation will now begin
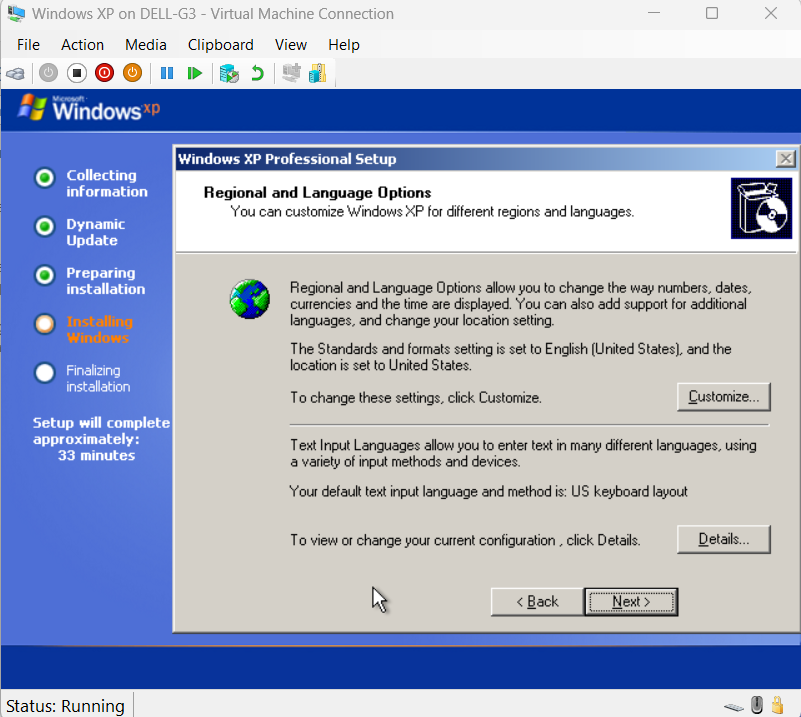
- A few options need configuring such as the language and keyboard settings. Click Next once you have done this
- Enter your name and organisation then click Next

- Enter your product key then click Next

- Enter a Computer Name and Administrator password then click Next

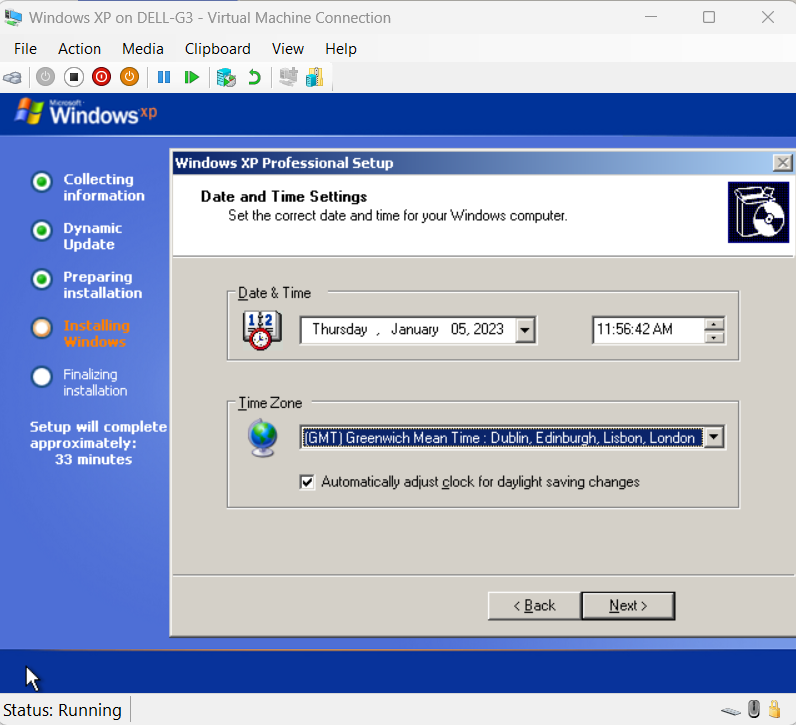
- Set your timezone settings then click Next
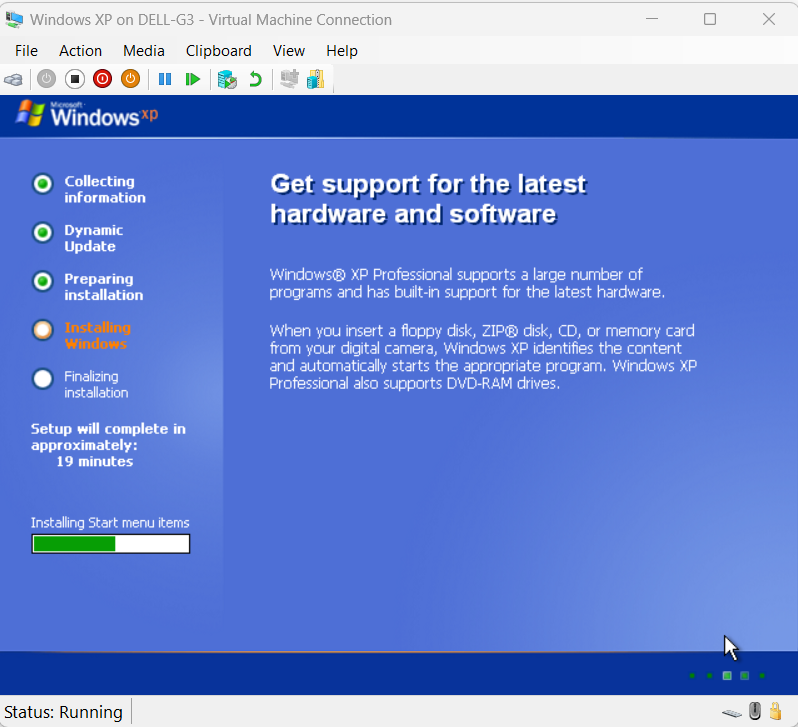
- Sit back and wait for installation to complete. This can vary depending on host machine and VM specs. It took 10 minutes for me. Below are some screenshots of the installation process


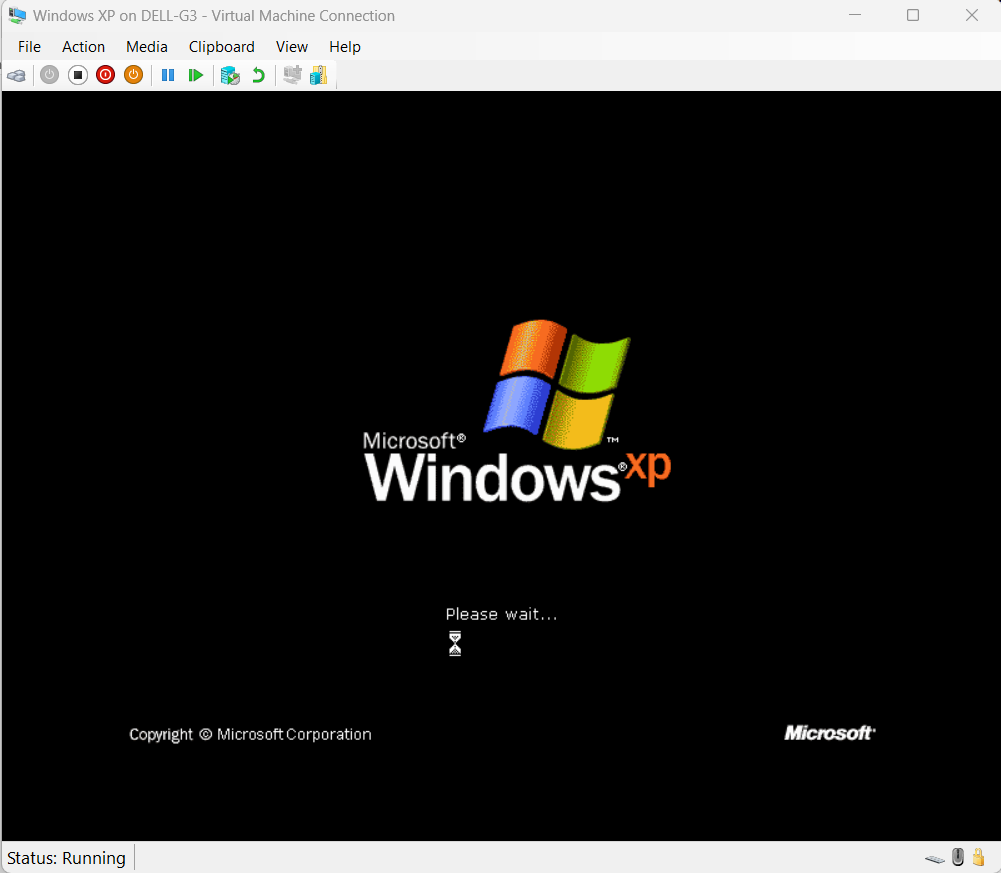
- After installation completes the VM will reboot. Click OK if you get the message about screen resolution

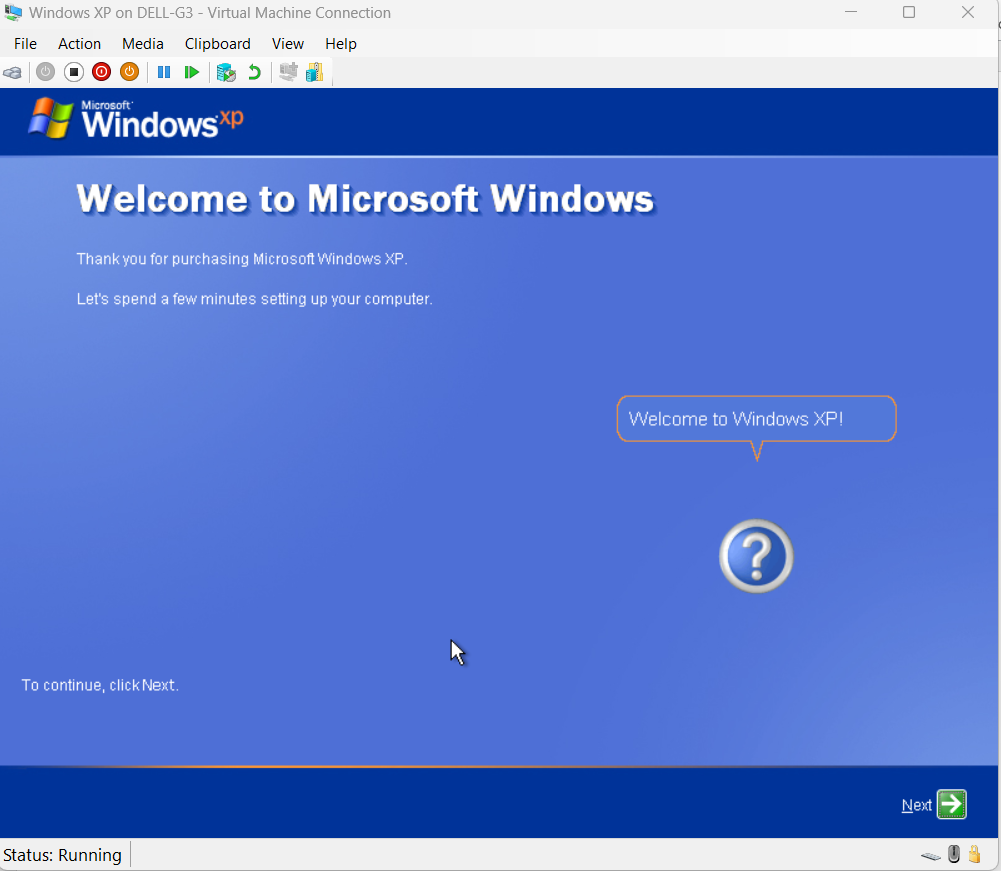
- Click Next at the final setup screen
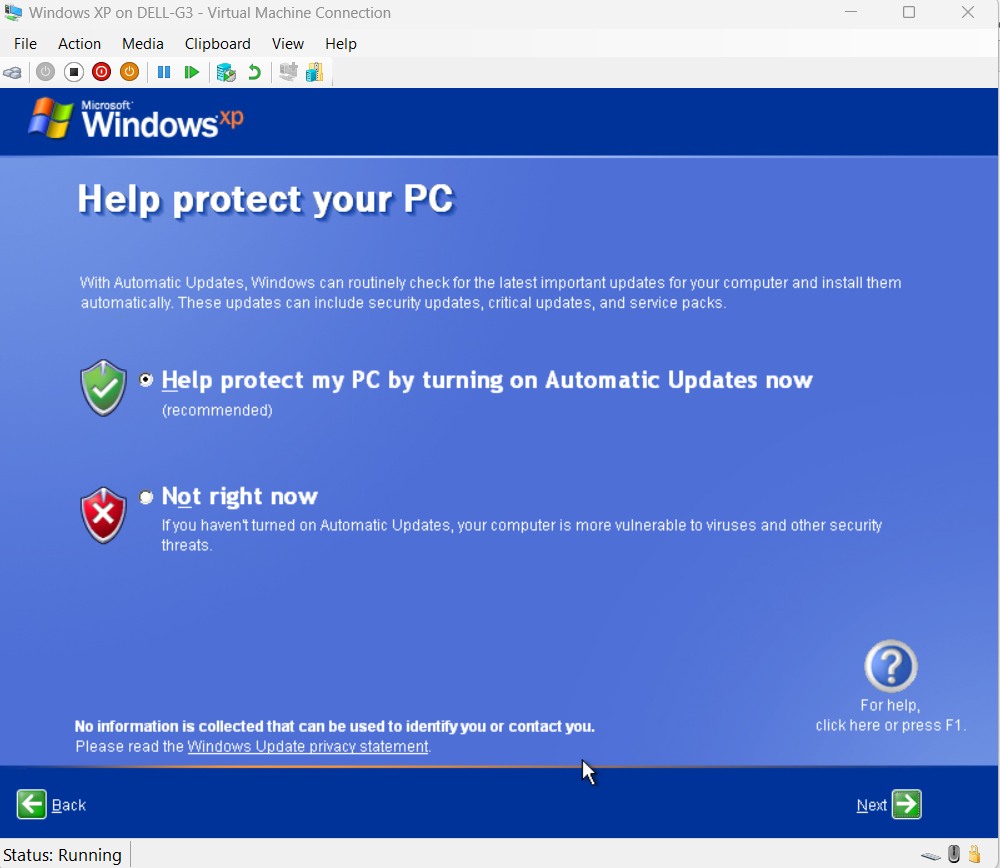
- Choose the Recommended option then click Next
- Enter a name for your user account then click Next

- Click Finish


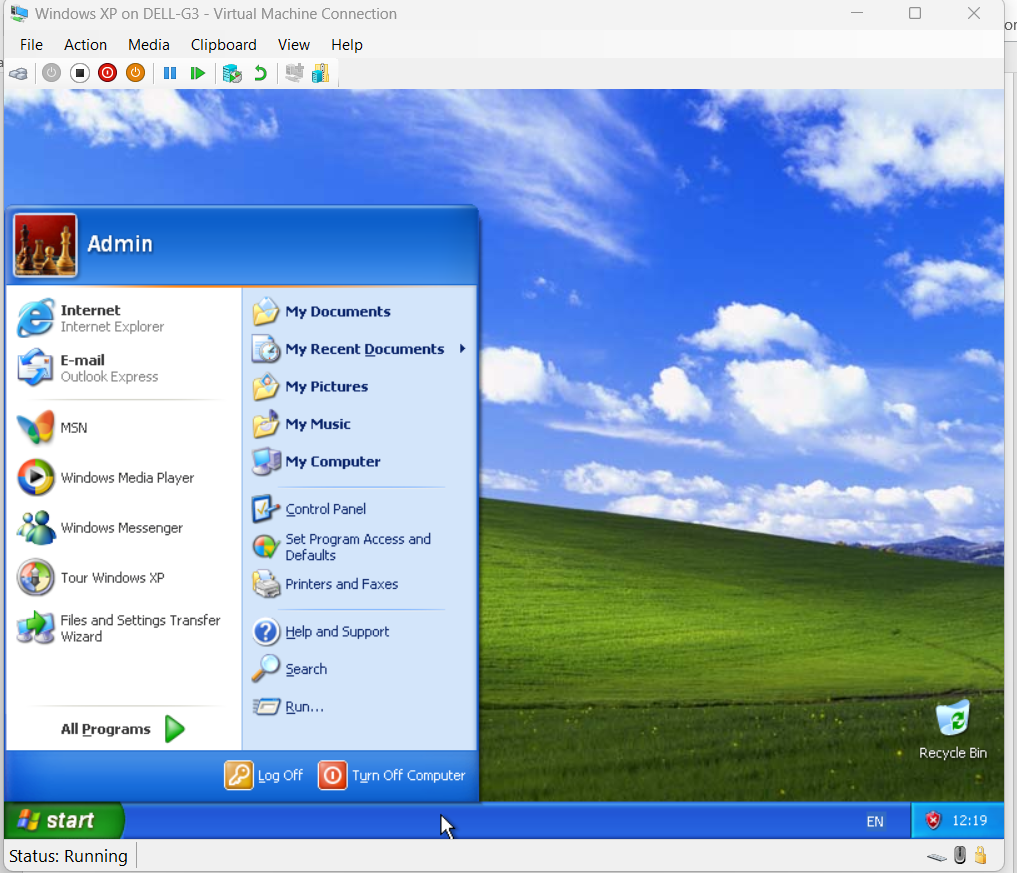
And that’s it you have now installed Windows XP


0 Comments